
How to Make a Saltine Cracker Pie Crust in Minutes
Saltine cracker pie crust is the answer when you want a homemade pie without the fuss of traditional pastry dough. It comes together with just two ingredients, takes only minutes to press into the pan, and bakes up crispy and buttery every single time. What makes it special is how well it works for both sweet and savory pies - it is one of those simple tricks that makes you feel like a kitchen genius.
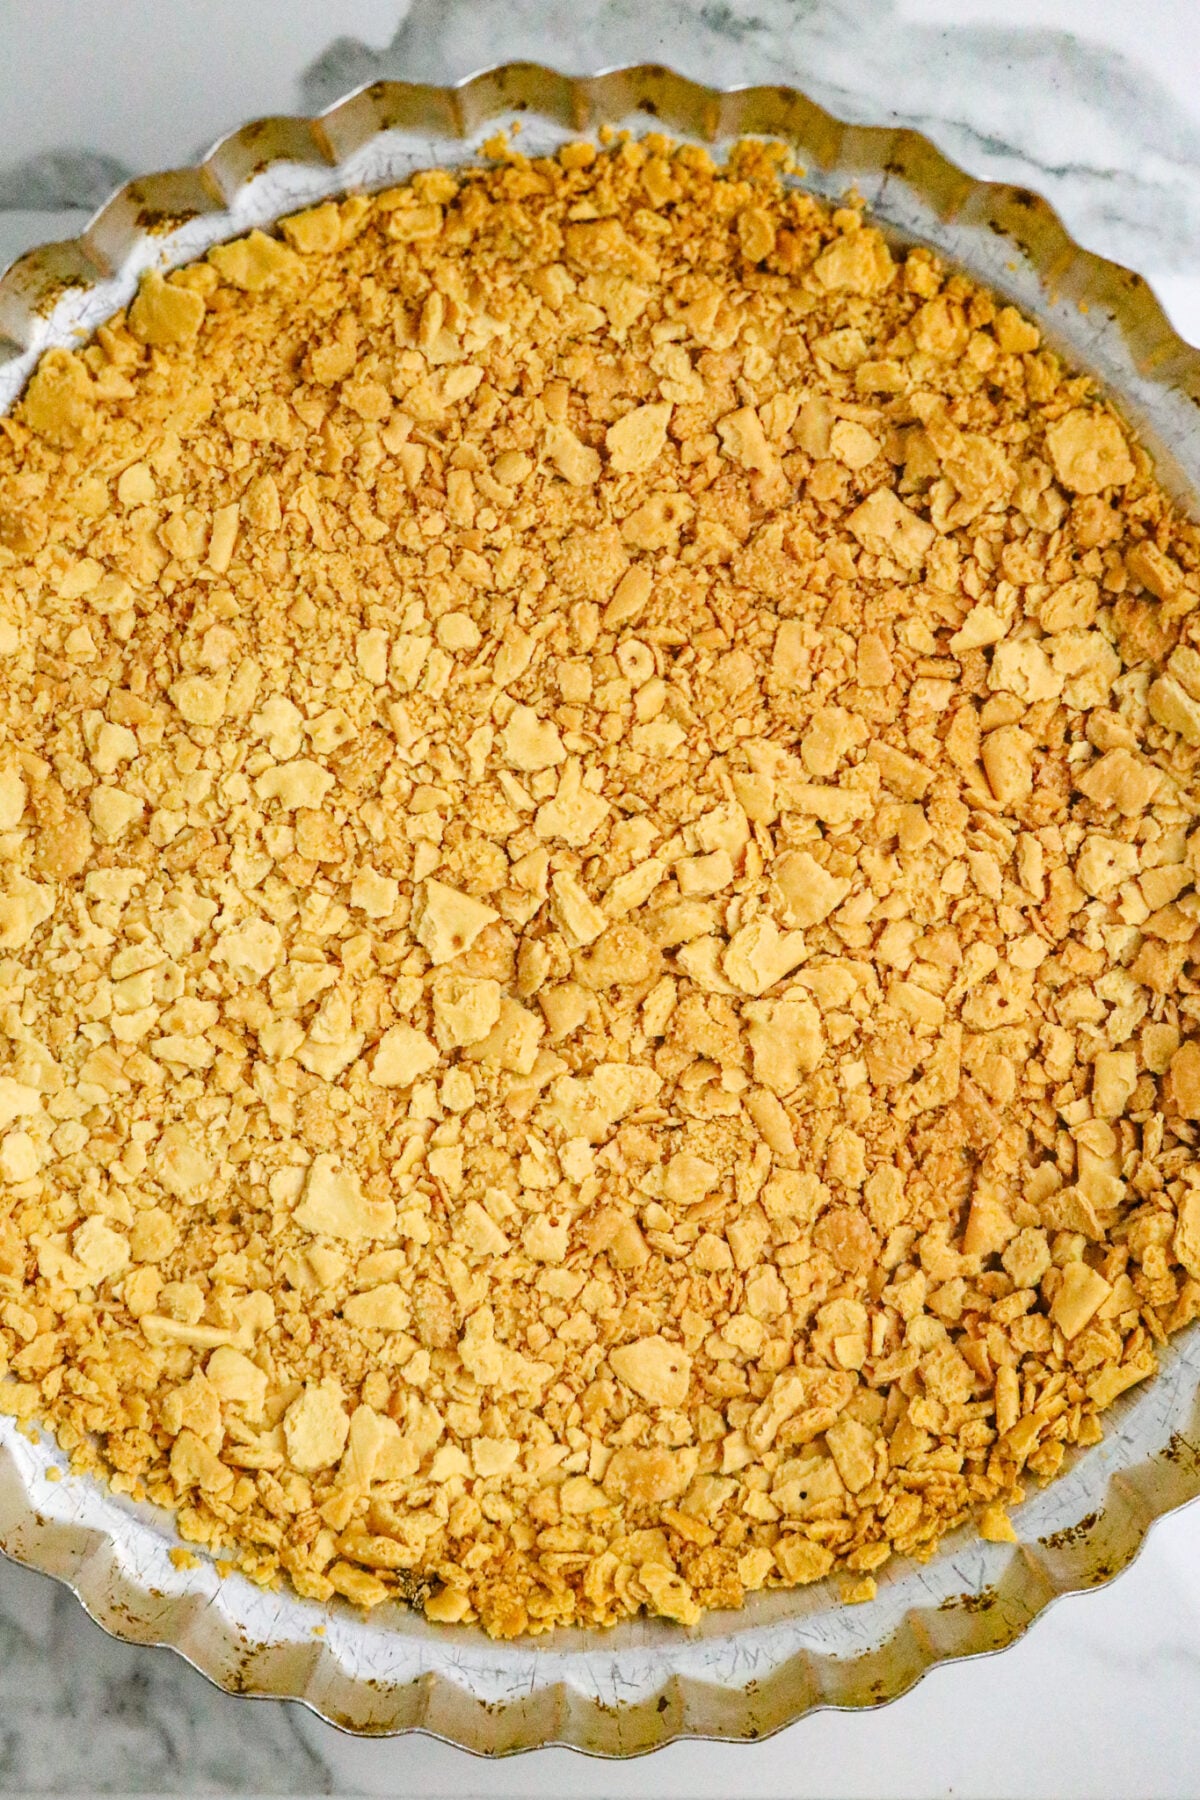
This crust caught my attention when I developed my Onion Pie Recipe, a Cajun-inspired savory cheese dish that already called for it. That buttery saltine base paired so perfectly with the rich, creamy onion filling that I could not stop thinking about it. I knew right then it deserved its very own recipe post so you could use this easy recipe for all kinds of pies!
Jump to:
- Ingredient Notes for the Saltine Cracker Pie Crust
- Instructions for the Cracker Crust
- Test
- What to Use This Cracker Crust For
- Equipment
- My Favorite Emile Henry Made In France 9-Inch Pie Dish
- Storage
- Tips for the Best Saltine Cracker Pie Crust
- FAQ
- More Pie Recipes for You!
- 📖 Recipe
- Don't forget to Pin me!
- Comments
What Is a Saltine Cracker Pie Crust?
This saltine cracker pie crust is exactly what it sounds like - a pie shell made from crushed saltine crackers and melted butter. It's pressed into a pie plate by hand, no rolling pin needed, and it bakes up into a crispy, golden, lightly salted base.
This crust has been a Southern kitchen staple for generations. It brings a subtle savory note that works beautifully under creamy fillings, rich cheesy layers, or classic sweet pies. That little bit of salt in the cracker does something wonderful - it balances sweetness and adds depth without you having to do anything extra.
Why You Will Love This Crust
This is one of those recipes that earns a permanent spot in your recipe box. Here is why it works so well:
- Only two ingredients - saltine crackers and salted butter
- No rolling, no chilling, no special tools needed
- Ready in minutes - prep takes about 10 minutes
- Works for sweet and savory pies - it is that versatile
- Crispy and buttery every single time
It is a wonderful timesaver when you want the satisfaction of a homemade pie without all the extra steps.
Ingredient Notes for the Saltine Cracker Pie Crust
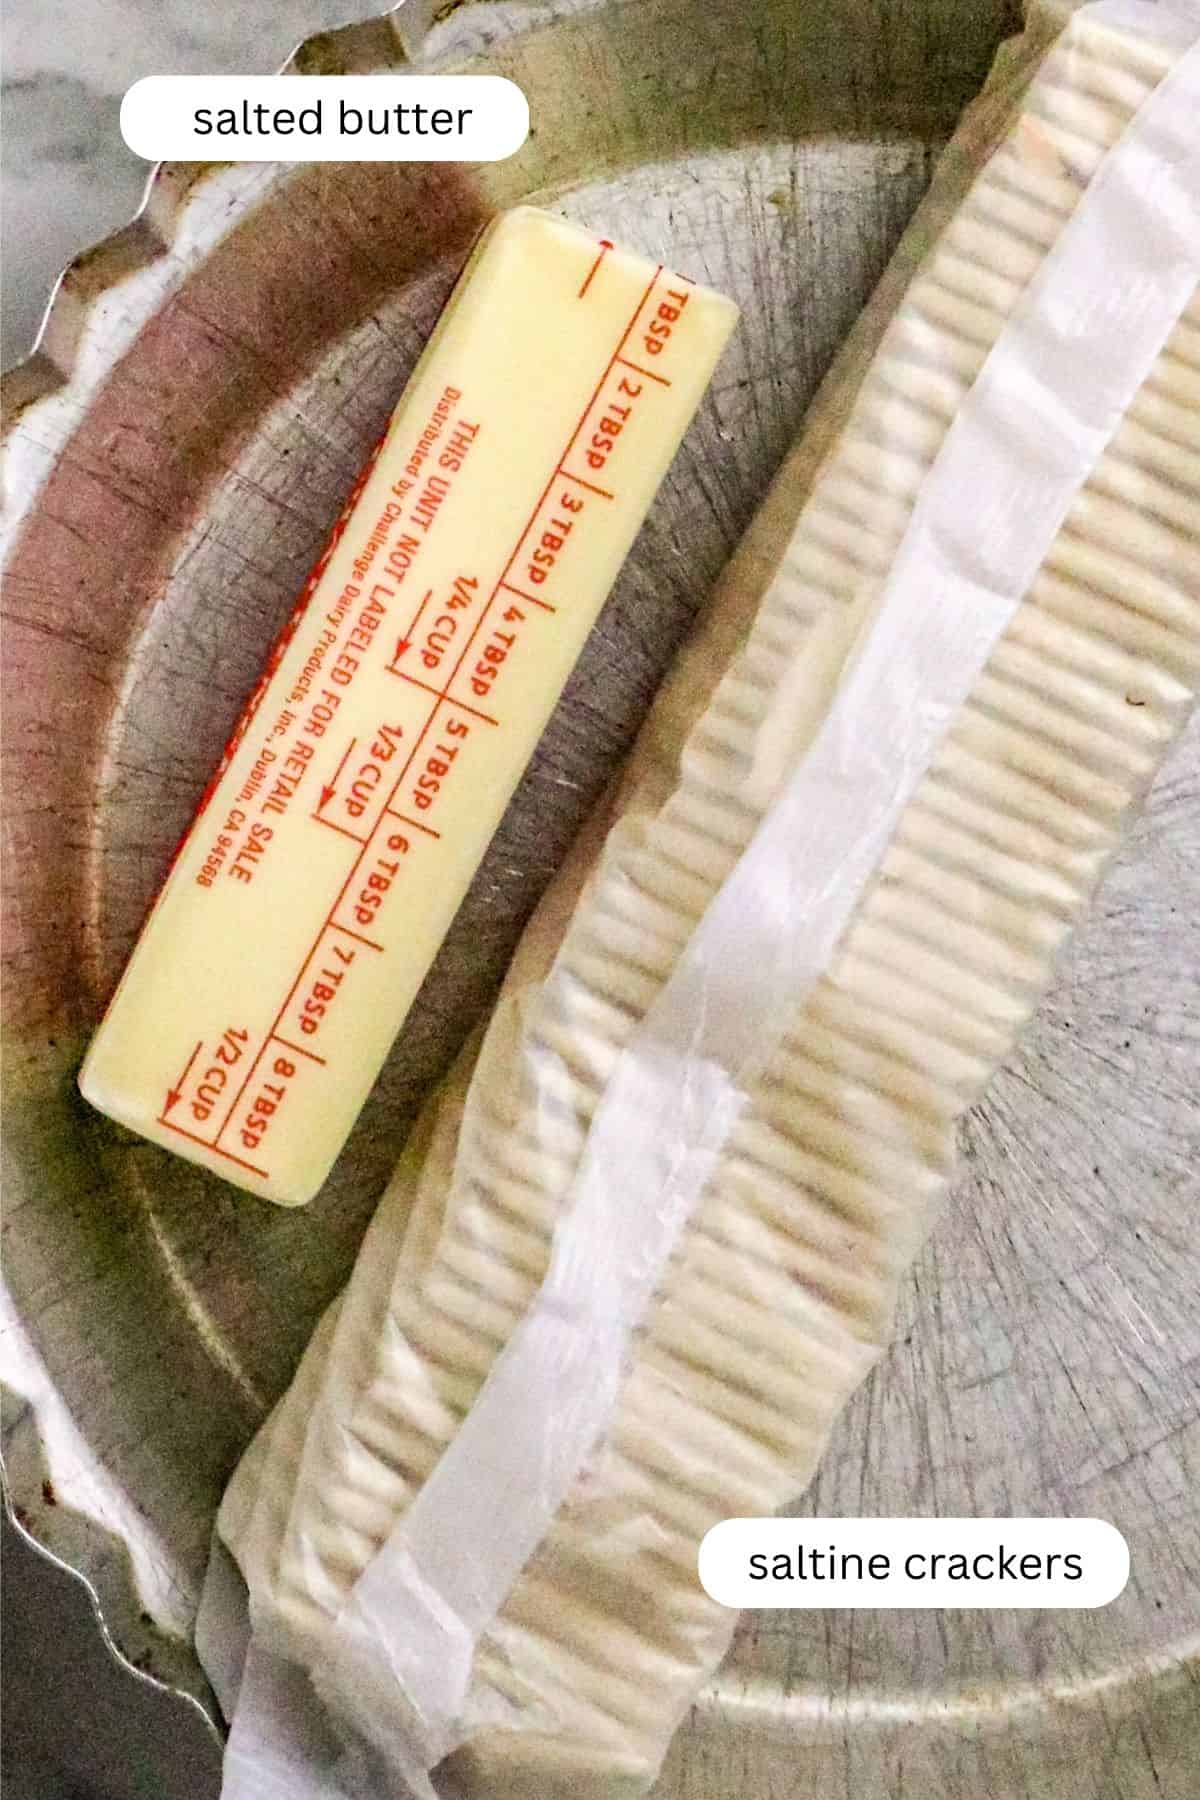
- Saltine Crackers - You will need 1 ¾ cups of crushed saltines, which is about one full sleeve for a 9-inch to 10-inch pie pan. Crush them into small pieces so your crust holds together well. You can simply crush them by hand or seal them in a zip-lock bag and roll over them with a rolling pin. Either way works great, but I choose to stack them in about 8 crackers, squeeze them together, and finish crushing them with my hands into a bowl. Do not use a food processor, as this can turn them into powder and you'll end up with mush.
- Salted Butter - Use salted butter here. The crackers are already lightly salted, and the salted butter adds another layer of savory richness that makes this saltine cracker crust so good. Melt it fully before stirring in the crumbs.
See the recipe card below for ingredient quantities.
Instructions for the Cracker Crust
This comes together so quickly! Here is the step-by-step:
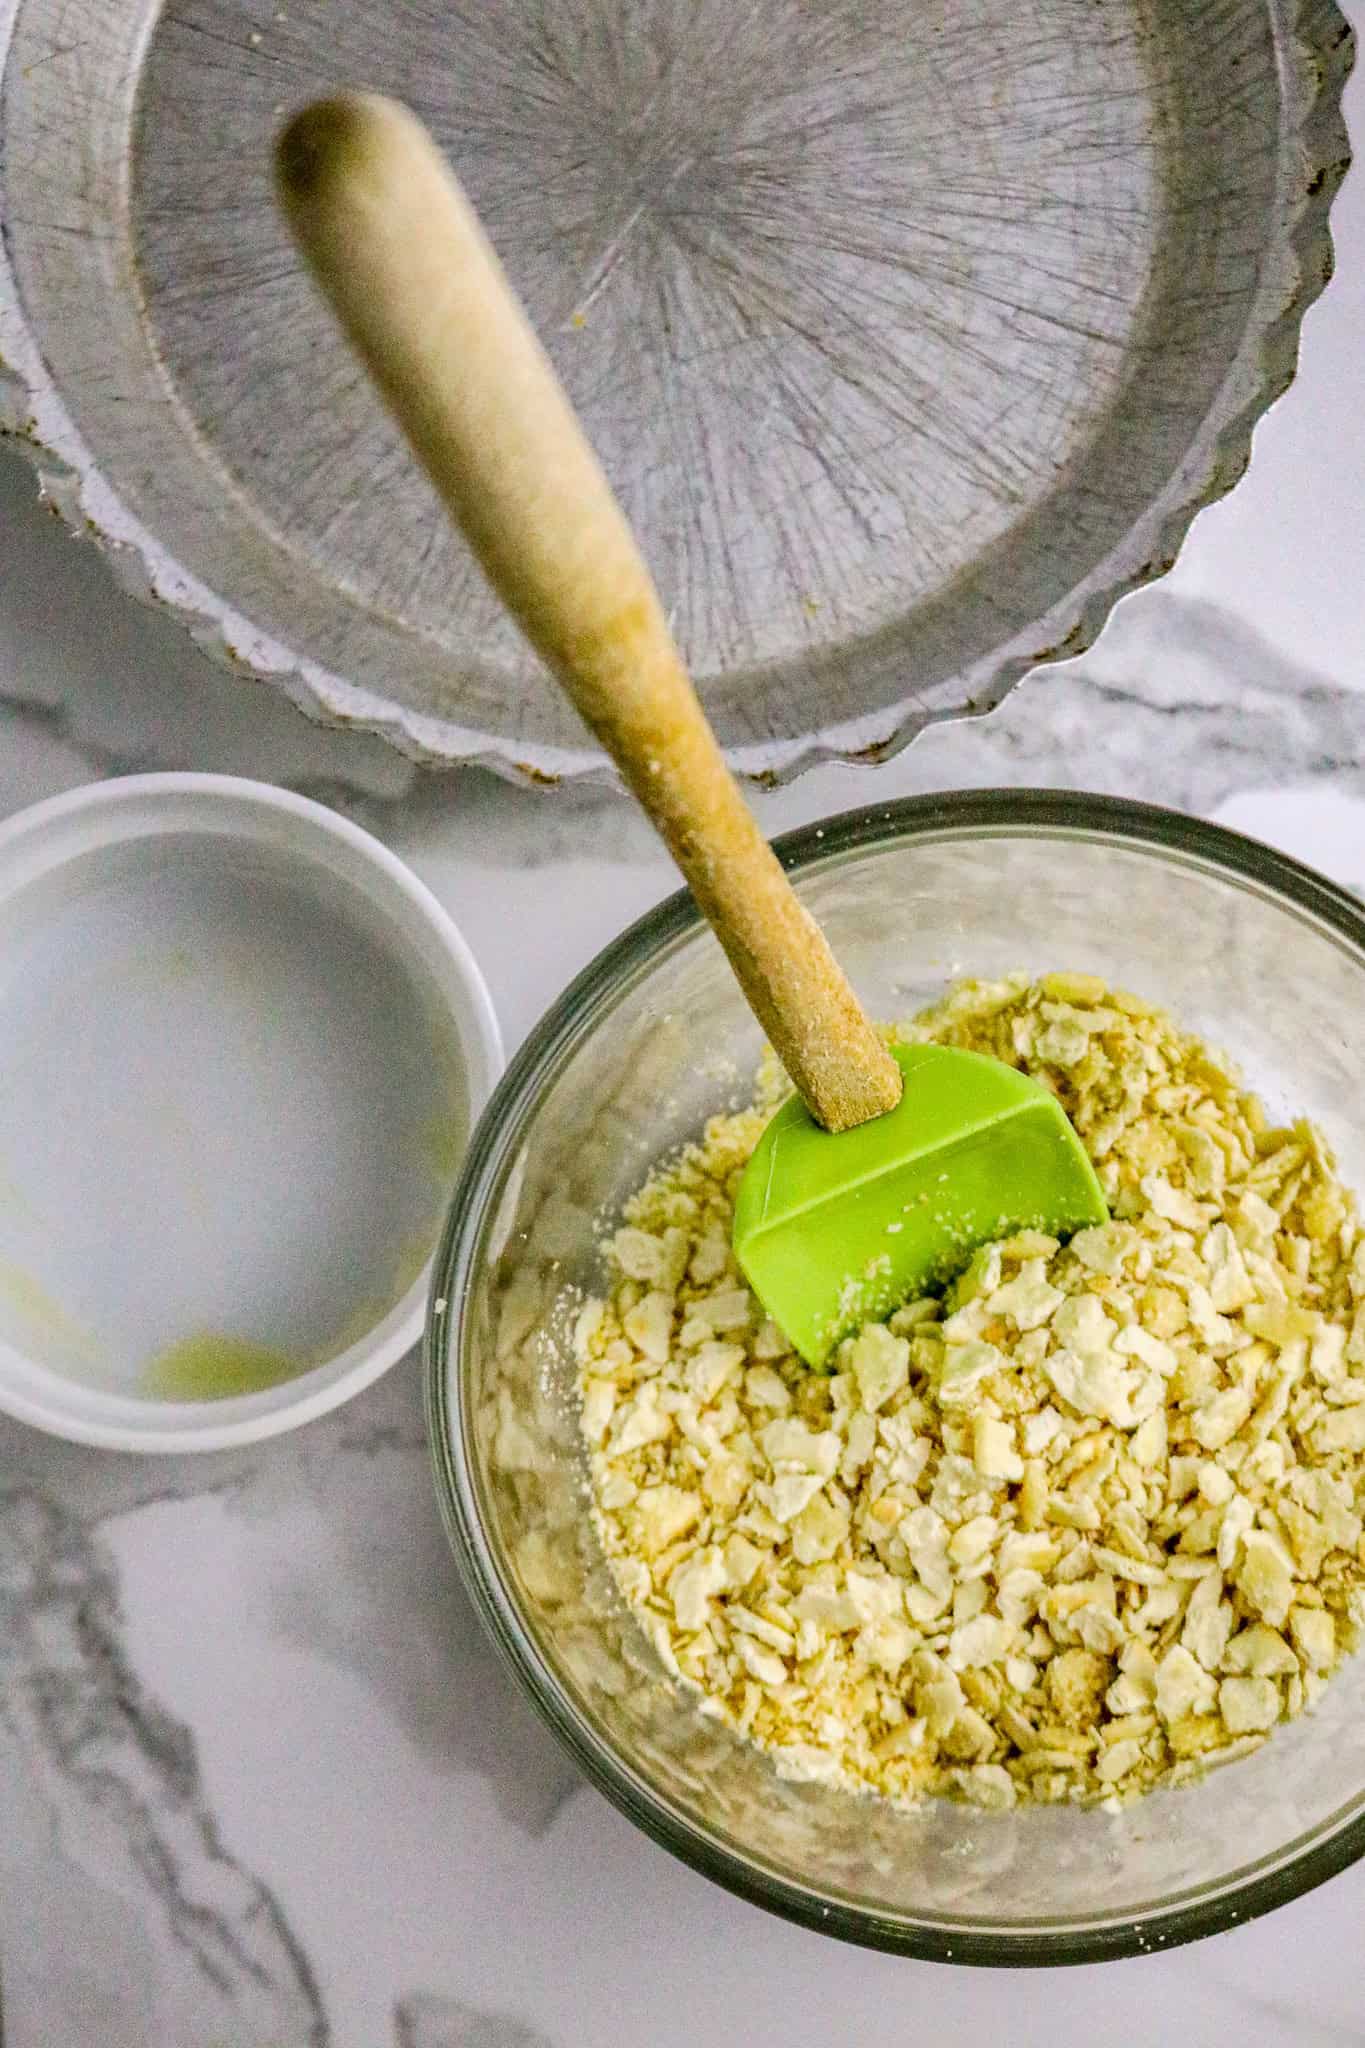
- Melt the butter in a medium microwave-safe bowl.
- Stir in the cracker crumbs until they are evenly coated with the melted butter. Every crumb should look moistened.
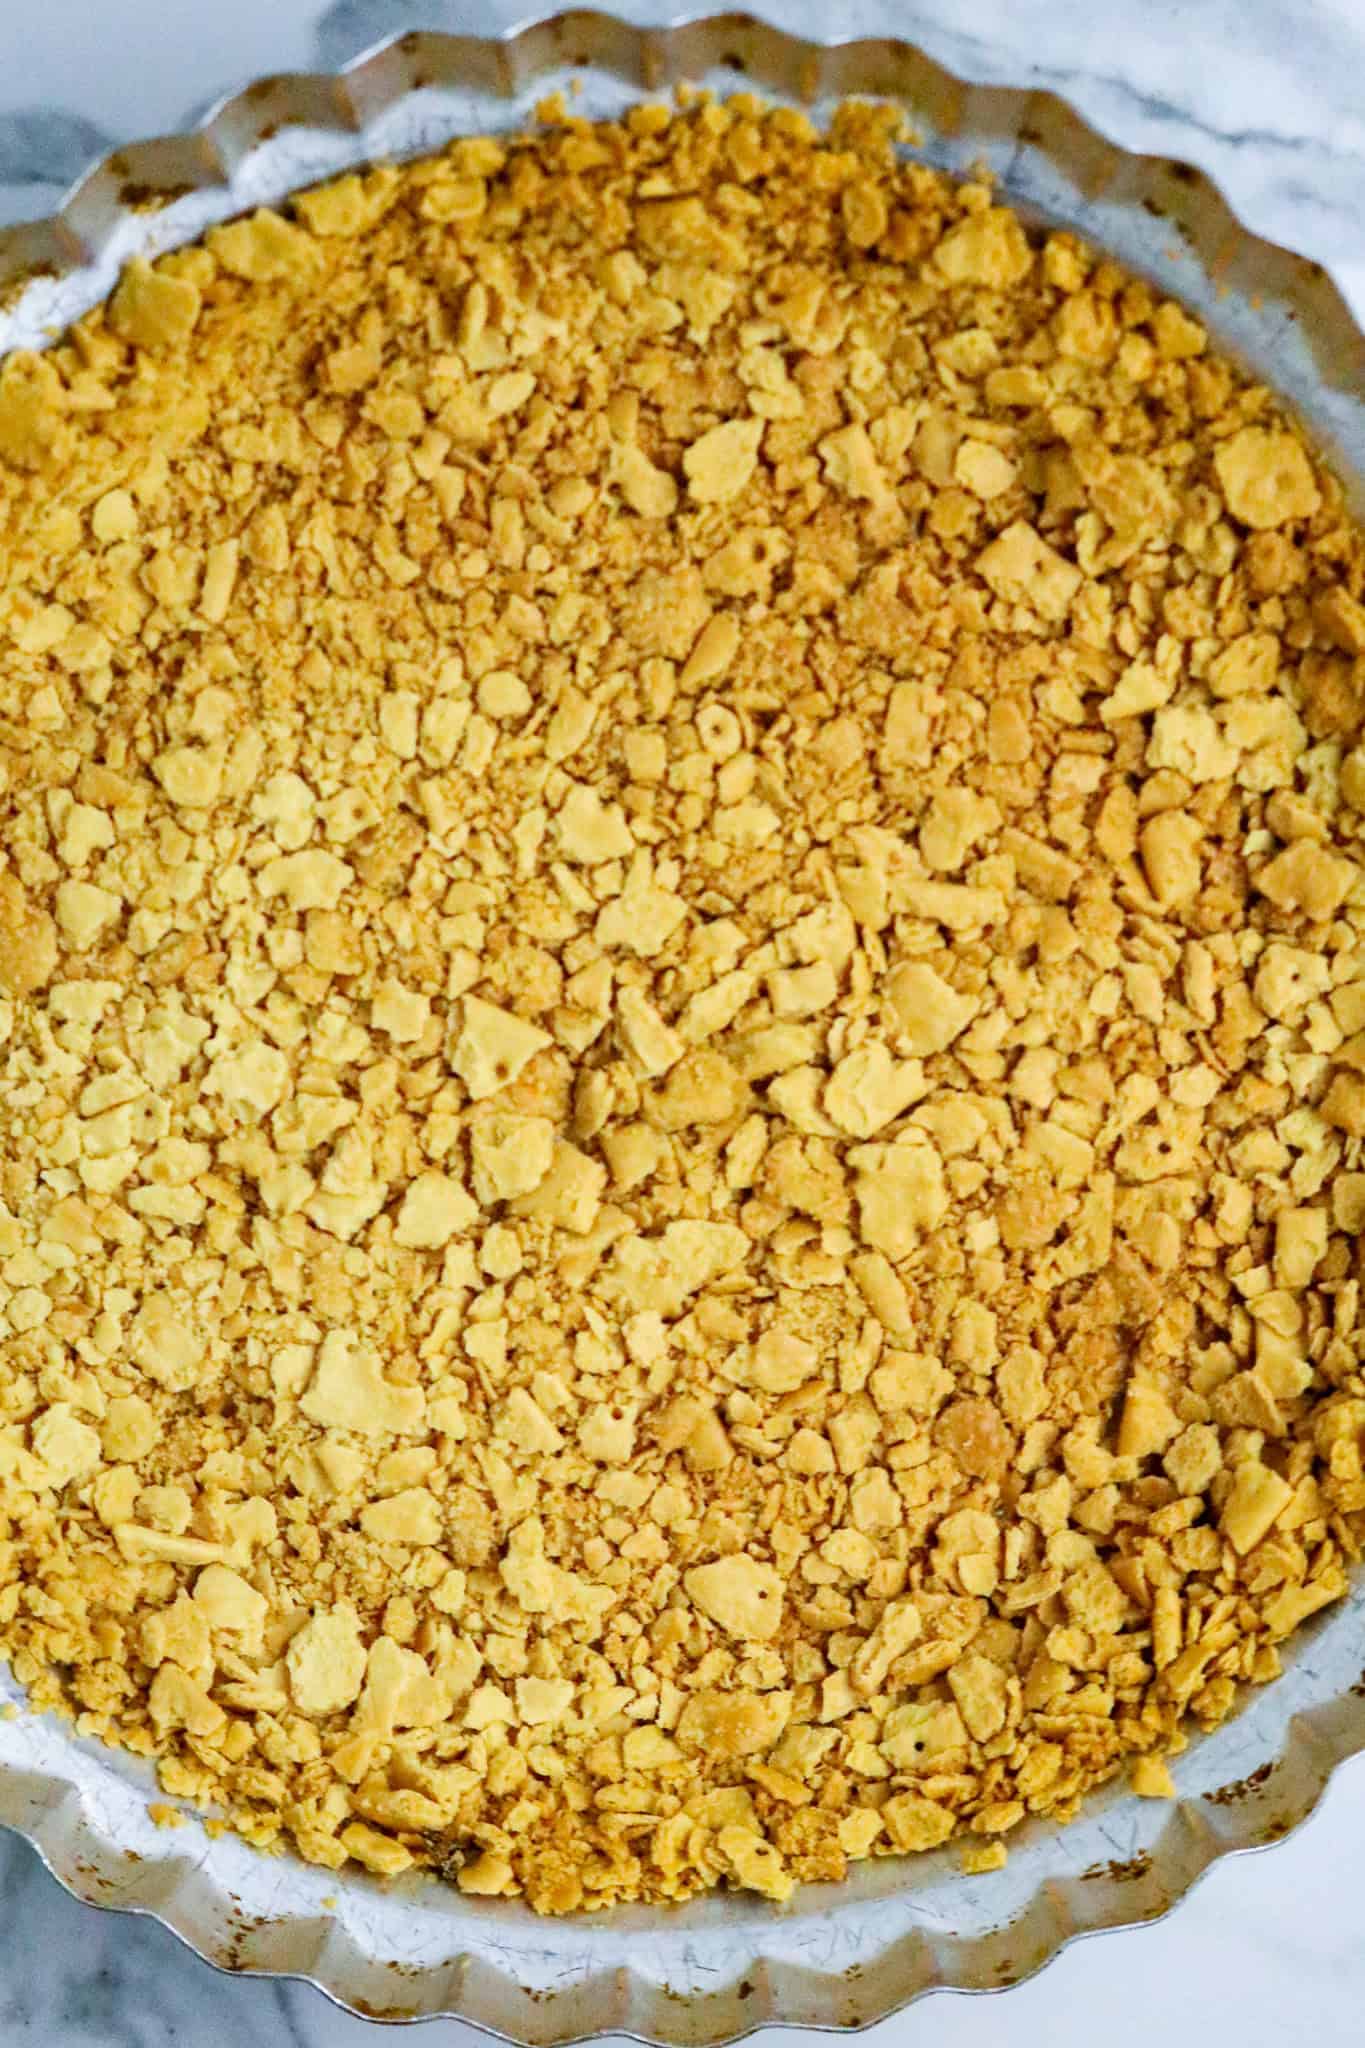
- For pie recipes that call for a prebaked crust, bake at 350°F for 15 minutes or until lightly golden and set.
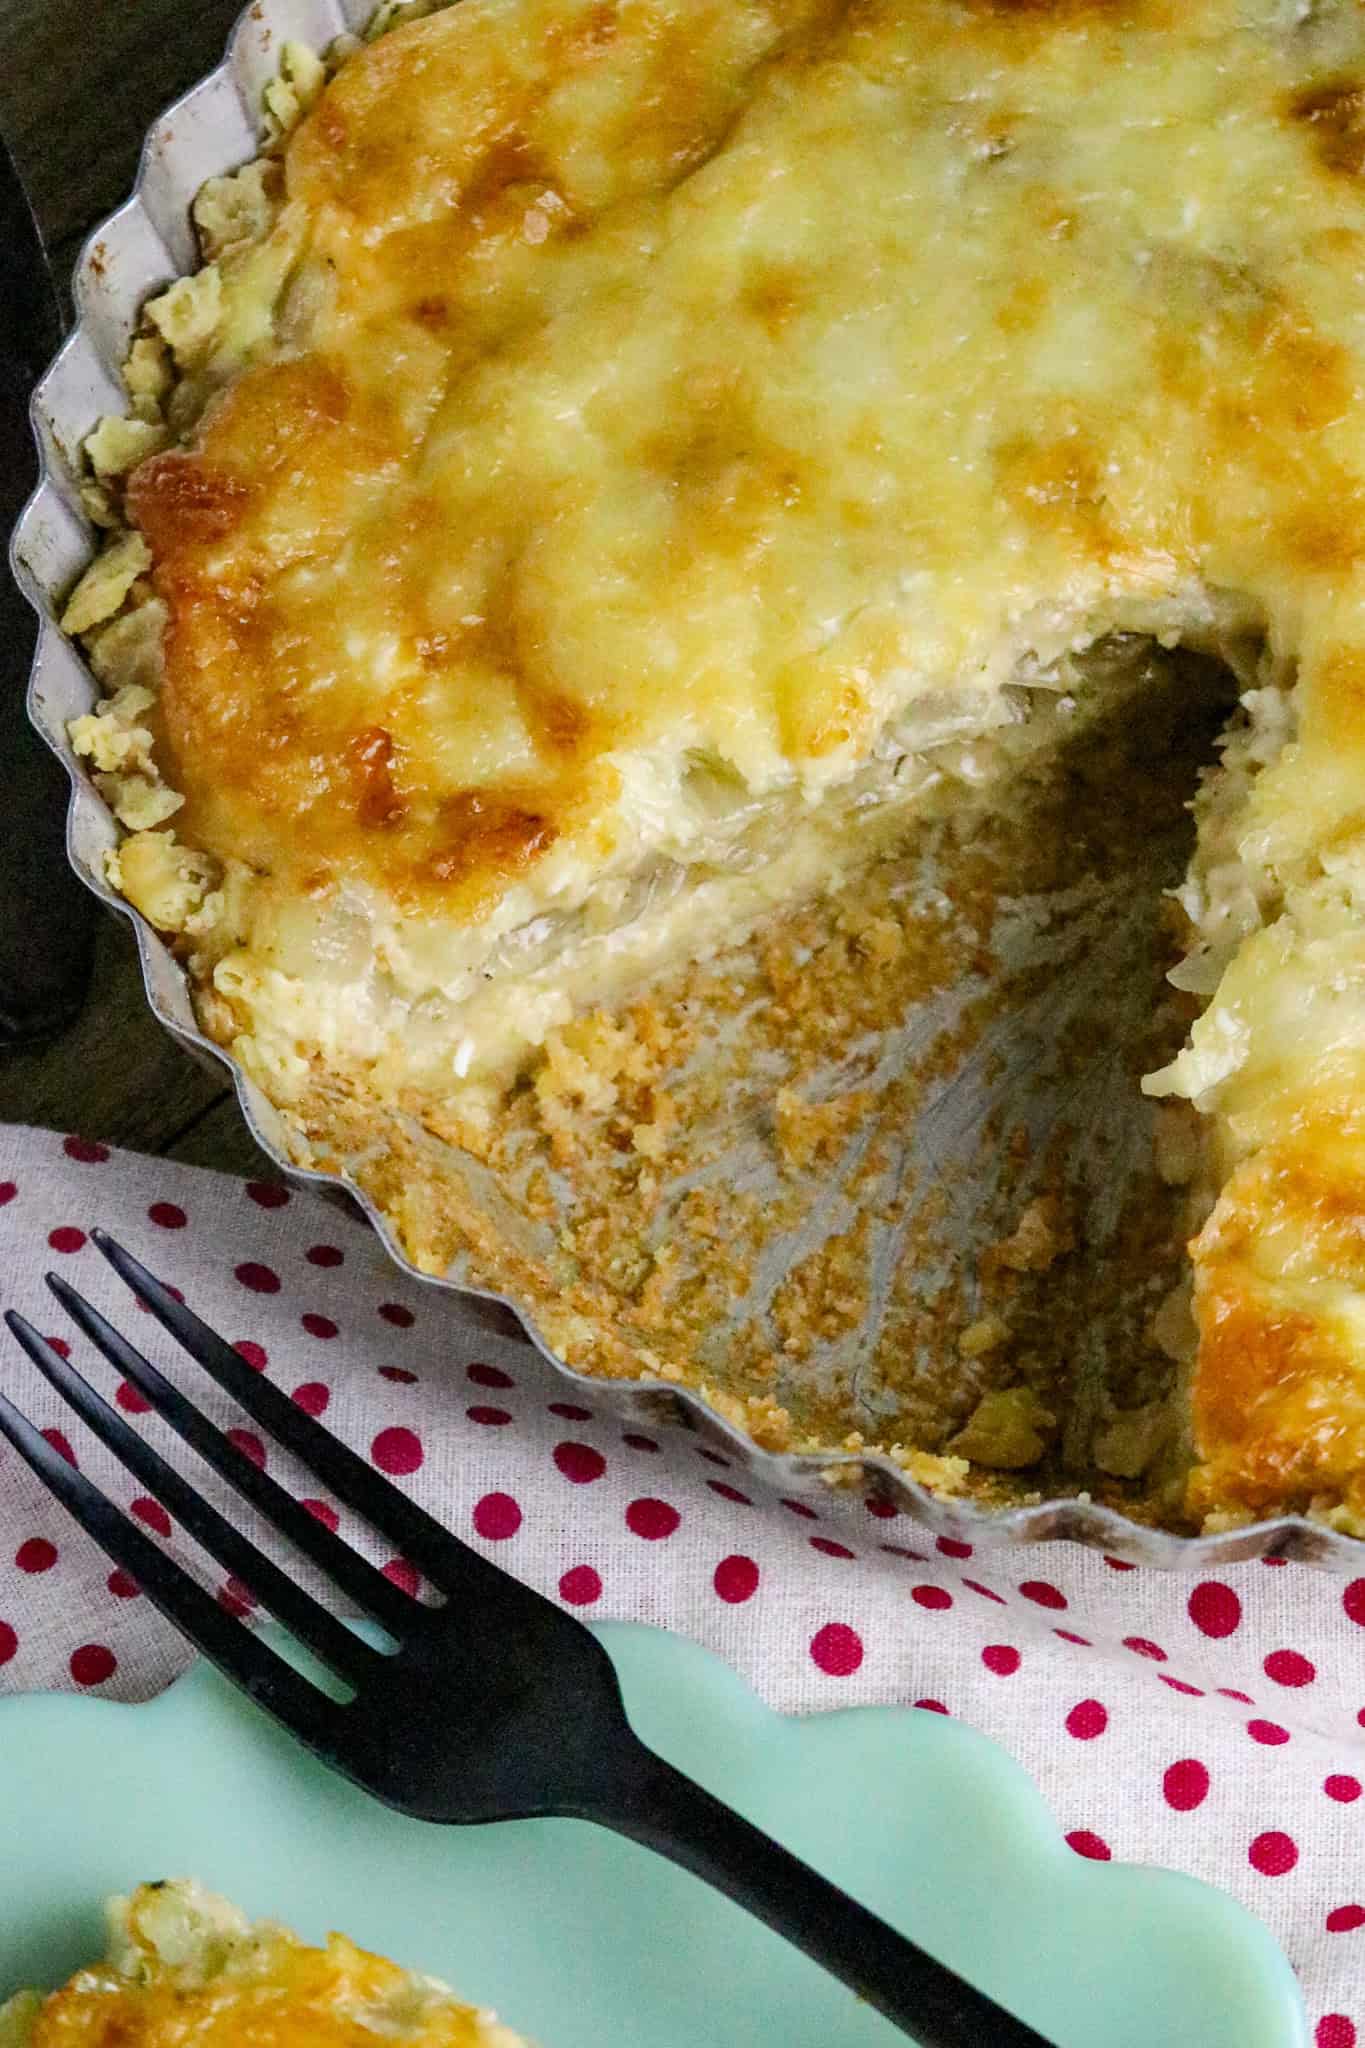
This is an example of savory onion pie ingredients baked in an unbaked saltine cracker pie crust. Lovely and oh, so delicious!
NOTE THIS: If your pie filling needs baking in the crust, skip the prebake step and fill the crust before placing it in the oven. If your filling is a no-bake or chilled type, always prebake the crust first.
Test
The original pie crust recipe didn't call for as many cracker crumbs, so the next one I made I added more crackers and butter, and I got a firmer, thicker, crunchier crust. But if you are using a smaller pie plate, you will want to reduce the amount of cracker mixture, or make 2 smaller pies from this one recipe.
What to Use This Cracker Crust For
This crust is wonderfully versatile. Here are some ideas to get you started:
Savory pies: This is where it all started for me! I developed this crust specifically for my Onion Pie, a Cajun-inspired savory cheese dish, and it was a match made in heaven. The saltiness of the crust plays off the sweet caramelized onions and melted cheese in the most tantalizing way. If you have not made that onion pie yet, this crust is your reason to start!
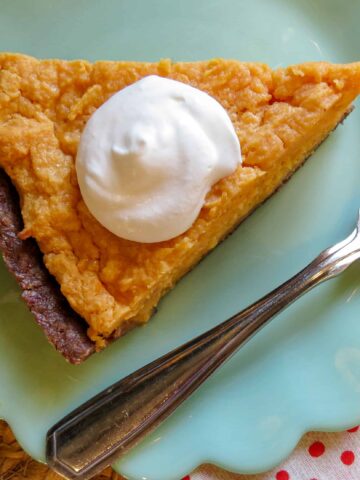
Dessert pies: Creamy lemon, chocolate, coconut, and no-bake cheesecake fillings are all wonderful in this crust. The salty-sweet combination is delectably delicious. I made this Lemon Cake Pie from One Hot Oven. I liked the salty-sweet lemon flavor it gave with the crunchy crust, especially in the corners of the pie.
Pot pies and casseroles: You can press this crust into a baking dish to use it as a base for a layered casserole. Although I haven't tried this yet, I plan to use this cracker crust and topping instead of the cornbread mixture the next time I make my Easy Farmhouse Chicken Cornbread Casserole. I believe it will create a lovely combination!
Equipment
My Favorite Emile Henry Made In France 9-Inch Pie Dish
 Buy Now →
Storage
Unbaked pie crust: Wrap tightly with plastic wrap and refrigerate for up to 2 days.
Baked unfilled crust: Let it cool completely, then cover it loosely and store at room temperature for up to 2 days.
Filled pie: Storage depends on your filling. Most cream or custard-filled pies should be covered and refrigerated for up to 3 days.
Freezing: You can freeze a prebaked, unfilled crust. Wrap it well in plastic wrap and freeze for up to one month. Thaw at room temperature before filling.
My Classic Homemade Pie Crust freezes beautifully too, if you ever want a traditional pastry crust ready and waiting in the freezer alongside this one.
Tips for the Best Saltine Cracker Pie Crust
Crush the crackers. Medium-sized crumbs hold together much better. Larger cracker pieces make a crumbly, uneven crust that falls apart when you slice it. Too fine a crumb can become powdery and mushy when butter is added.
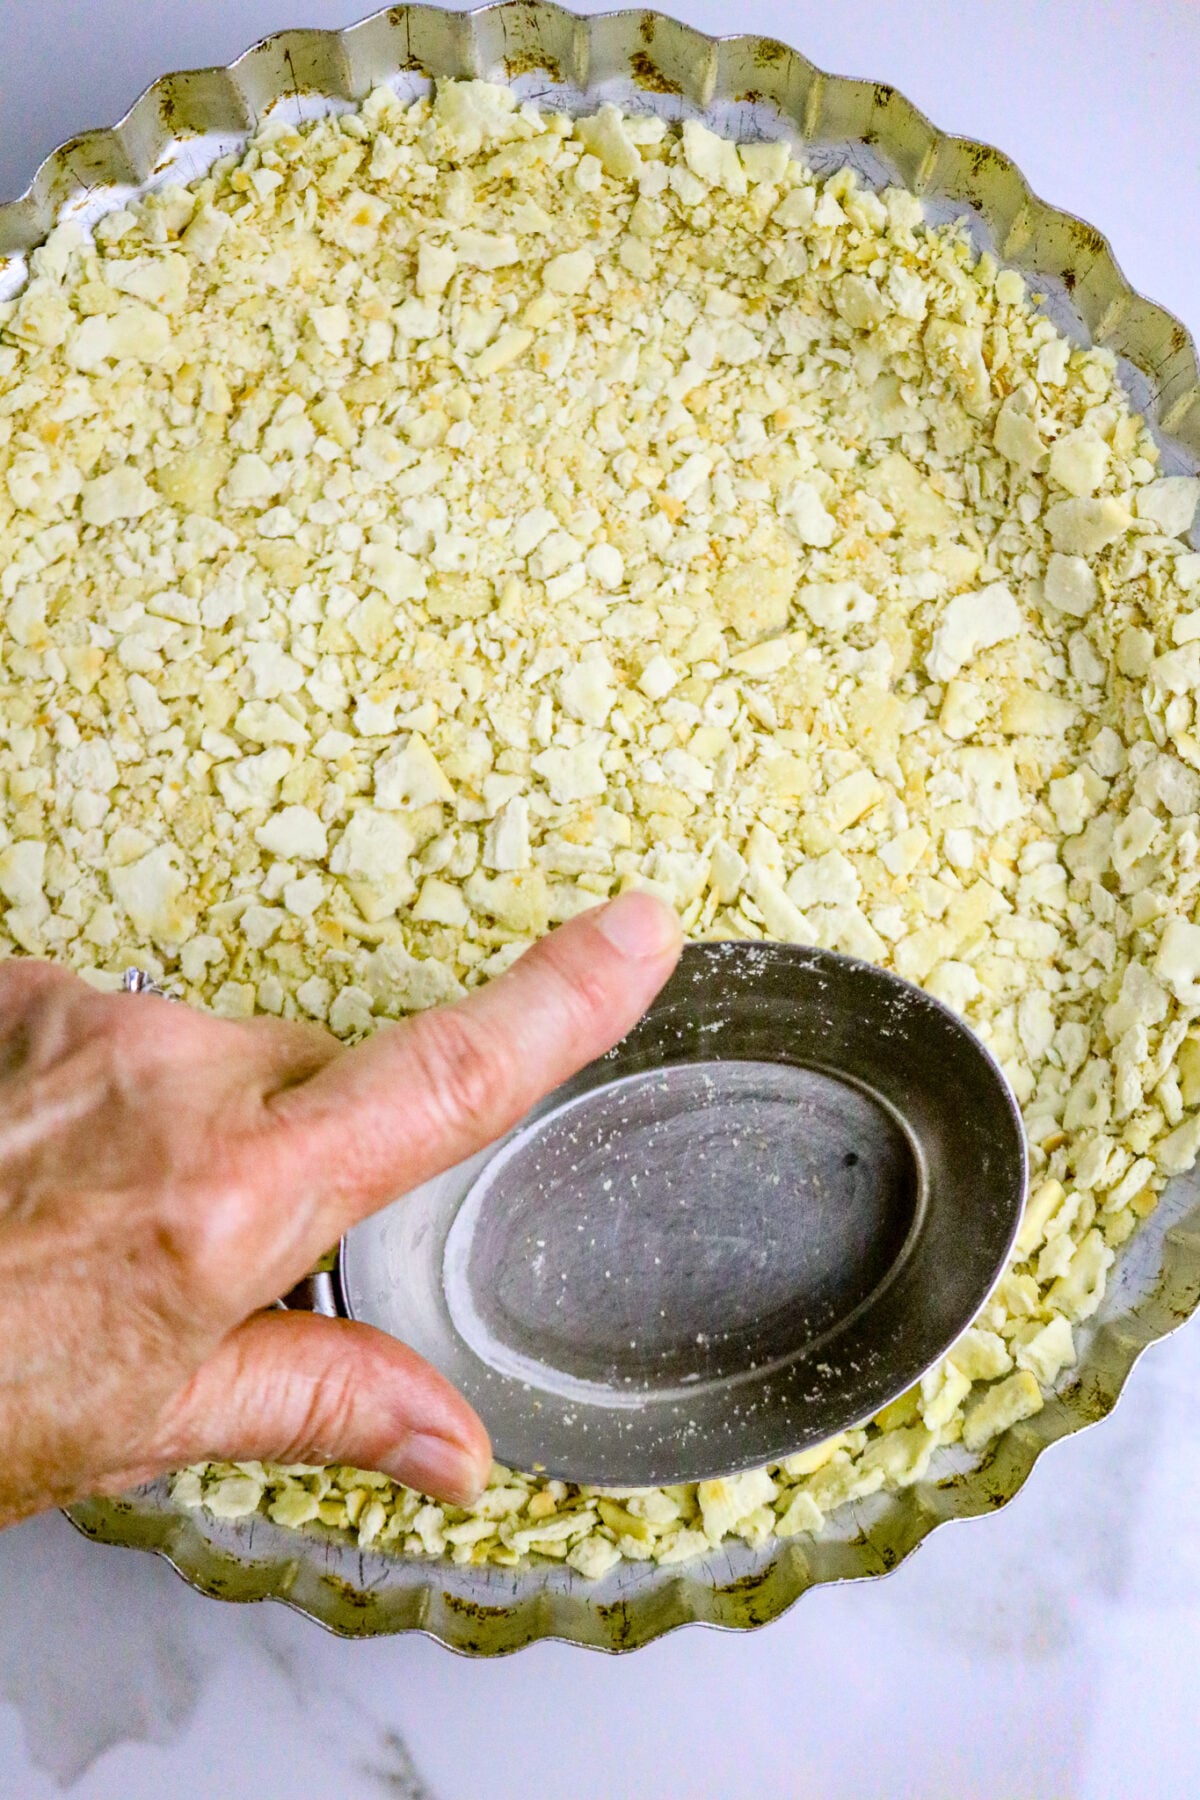
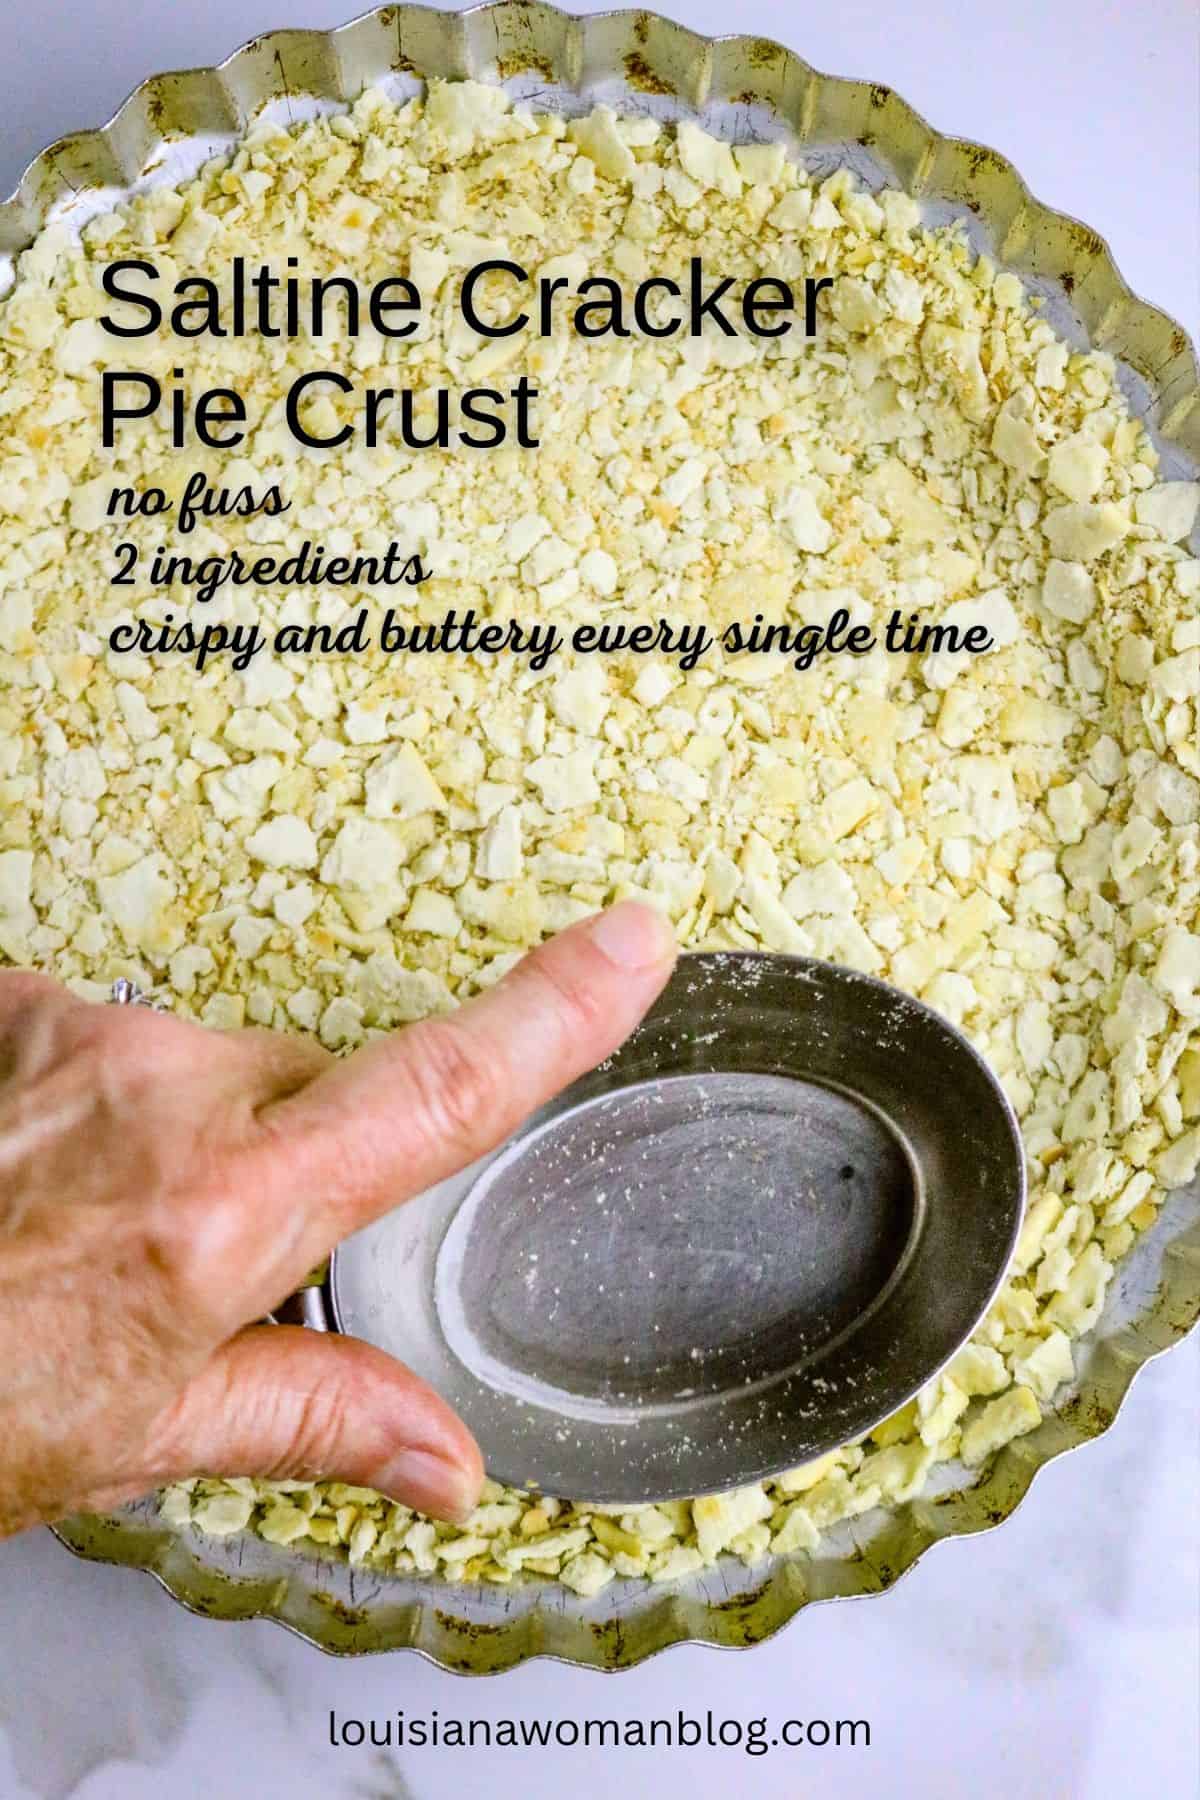
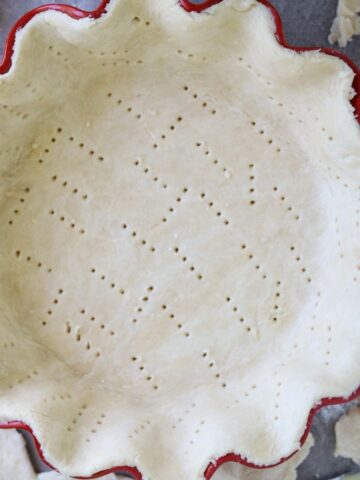
Press it firmly. Do not be shy about pressing the crust into the plate. A firmly packed crust holds its shape and slices cleanly. Use the flat bottom of a dry measuring cup to really press it in. This crust is loose and will not stack very high up the sides of the pie plate; this is perfectly fine.
Do not skip the cooking spray. Even though the crust has plenty of butter in it, a light spray on the pie plate helps it release cleanly when you serve it, especially when using a metal pie plate.
Let it cool before filling. If you prebake the crust, give it a few minutes to set up before adding your filling. This keeps the crust crispy rather than soggy.
For more inspiration on pies of all kinds, browse all the pie recipes on the blog!
FAQ
Yes! You can press the crust into the pie plate, cover it, and refrigerate it unbaked for up to one day ahead. Or bake it, let it cool completely, and store it at room temperature for a day before filling.
You can, but the salted butter really does make a difference here. If you only have unsalted, add a small pinch of salt to the crumb mixture.
It does! Press it across the bottom and partway up the sides for cheesecake-style desserts.
You may stack several of them in your hands and press together to start the crumbling process, then crush them some more with your fingers in a medium bowl. Or, put the crackers in a sealed zip-lock bag and use a rolling pin to crush them. Work them until they are fine and even.
Absolutely. Graham crackers, Ritz crackers, and even pretzels work with this same method. Each one brings a slightly different flavor. Saltines give you that classic buttery-salty base, but feel free to experiment! For a pretzel crust, see my Strawberry Pretzel Salad With Step-By-Step Instructions.
More Pie Recipes for You!
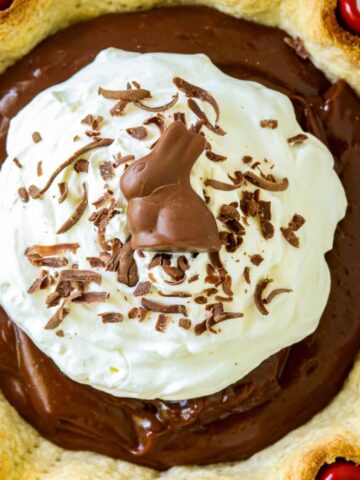
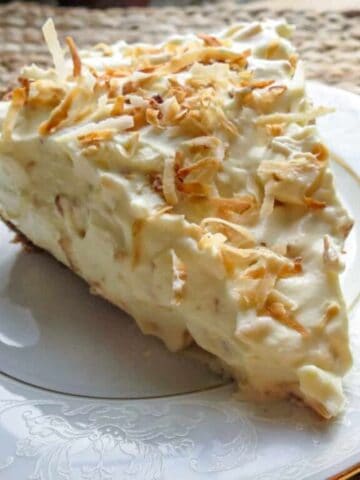
If this saltine cracker crust has you in the mood for pie, here are a few more favorites to try! The Paper Bag French Apple Pie is a fun and unique way to bake an apple pie inside a paper bag - it keeps that wonderful filling tender and juicy. The Fresh Strawberry Pie Glaze lets ripe strawberries shine under a sweet shiny glaze - a showstopper every time. The Chocolate Bunny Pie is rich, creamy, and so easy to pull together - your family will ask for it again and again! And the Low Carb Coconut Pie delivers big coconut flavor without the extra carbs - well worth adding to your recipe box!
📖 Recipe
How to Make a Saltine Cracker Pie Crust in Minutes
- Prep Time: 10 minutes
- Cook Time: 15 minutes
- Total Time: 25 minutes
- Yield: 8 slices 1x
- Category: Pie Recipes
- Method: Baking
- Cuisine: American
Description
This saltine cracker pie crust comes together in minutes with only two ingredients. Press it into your pie plate and bake for a crispy, buttery base that works for sweet or savory pies.
Ingredients
- 1 ¾ cups crushed saltine crackers, 1 tube, crushed into medium pieces
- 6 tablespoons salted butter
Instructions
Equipment
Buy Now → Notes
Crush the crackers. Medium-sized crumbs hold together much better. Larger cracker pieces make a crumbly, uneven crust that falls apart when you slice it. Fine crumbs can become powdery and mushy when butter is added.
Press it firmly. Do not be shy about pressing the crust into the plate. A firmly packed crust holds its shape and slices cleanly. Use the flat bottom of a dry measuring cup to really press it in. This crust is loose and will not stack very high up the sides of the pie plate; this is perfectly fine.
Do not skip the cooking spray. Even though the crust has plenty of butter in it, a light spray on the pie plate helps it release cleanly when you serve it.
Let it cool before filling. If you prebake the crust, give it a few minutes to set up before adding your filling. This keeps the crust crispy rather than soggy.

Don't forget to Pin me!
You know I love hearing from you. Be sure to sign up for my emails to keep in touch. Leave a question or comment below, and don't forget to follow me on Facebook and Instagram and pin my recipes to Pinterest.
Have a nice day!
"Nothing is as hard as it looks; everything is more rewarding than you expect; and if anything can go right it will and at the best possible moment."
Maxwell's Law - John C. Maxwell
More Pie Recipes

Comments
No Comments